The waffle template provided from the student:
Metal sheet making: Day 1
Place the waffle template on the aluminium sheet and mark the shape with 1 cm extension from the template. Trim the sides with metal cutting machine, then , use the scissor to cut the top part.
Generally roll the aluminium sheet with the rolling machine to create a curve that allows the sheet to lay on the template. Mark the edge of the curve and start shaping with the shoulder of the PVC.
Carefully hammered the shoulder with small metal hammer. The area of curving is minimal, it is suggested to use smaller tool to create the shape.
Mark the exact shape of the cap and hammered the curve shape from the shoulder towards the top.
Continually shaping the outline of template by doing the above steps over and over again. Do not hammer it too hard at once, it is hard to push back the curve shape if it is sinked.
After curving the outline of the cap, hammer the sheet with bossing mallet from the opposite side to make sure the adhere is not sink in the centre.
Result of day 1
Result of day 1
Metal sheet making: Day 2
Starting to shape the edge of the adhere against to the special support tool with a flat surface plastic hammer. It is suggested to get a metallic support tool with long rounded shape to achieve continuously curving edge.
Make the side edges before the bottom, it allows the template to slide in to the incomplete adhere.
Check the parts that are unmatched and adjust the angle of curve carefully with smaller scale tool.
If you wish to bend the curve more: do not use the rolling machine, it will flatten everything you've done so far. Use the table side clip to pressure the adhere from the both sides to achieve the angle of curve you expected.
In order to make the bump details of top part template, you might need a costume support tool to beat against with. The supervisor makes a wooden tool with more narrow shape for me at this stage.
Image of the wooden support tool
By beating the adhere with wooden hammer against the special support tool, it creates two significant bumps to match the template.
Result of day 2
Metal sheet making: Day 3
Adjust the curve with the table clip on the side carefully. Do not over bend the adhere, it's going to be very difficult to get the shape back if it is over bended at this stage.
Cut the extras from the edge of the sheet with scissor. It is hard to achieve the curving edge of the adhere if there's too much extra on the sheet.
Soften the cutting edge from the above step
Place the template into the adhere and check if there are any parts that are undone or unmatched.
After fixing all edges from the top to the sides, close the bottom edge of the adhere with the same steps for doing the sides.
Finish the sheet by trimming the extras, soften the edges and match the outline of the template over and over again to make sure every lines and surface detail is completed.
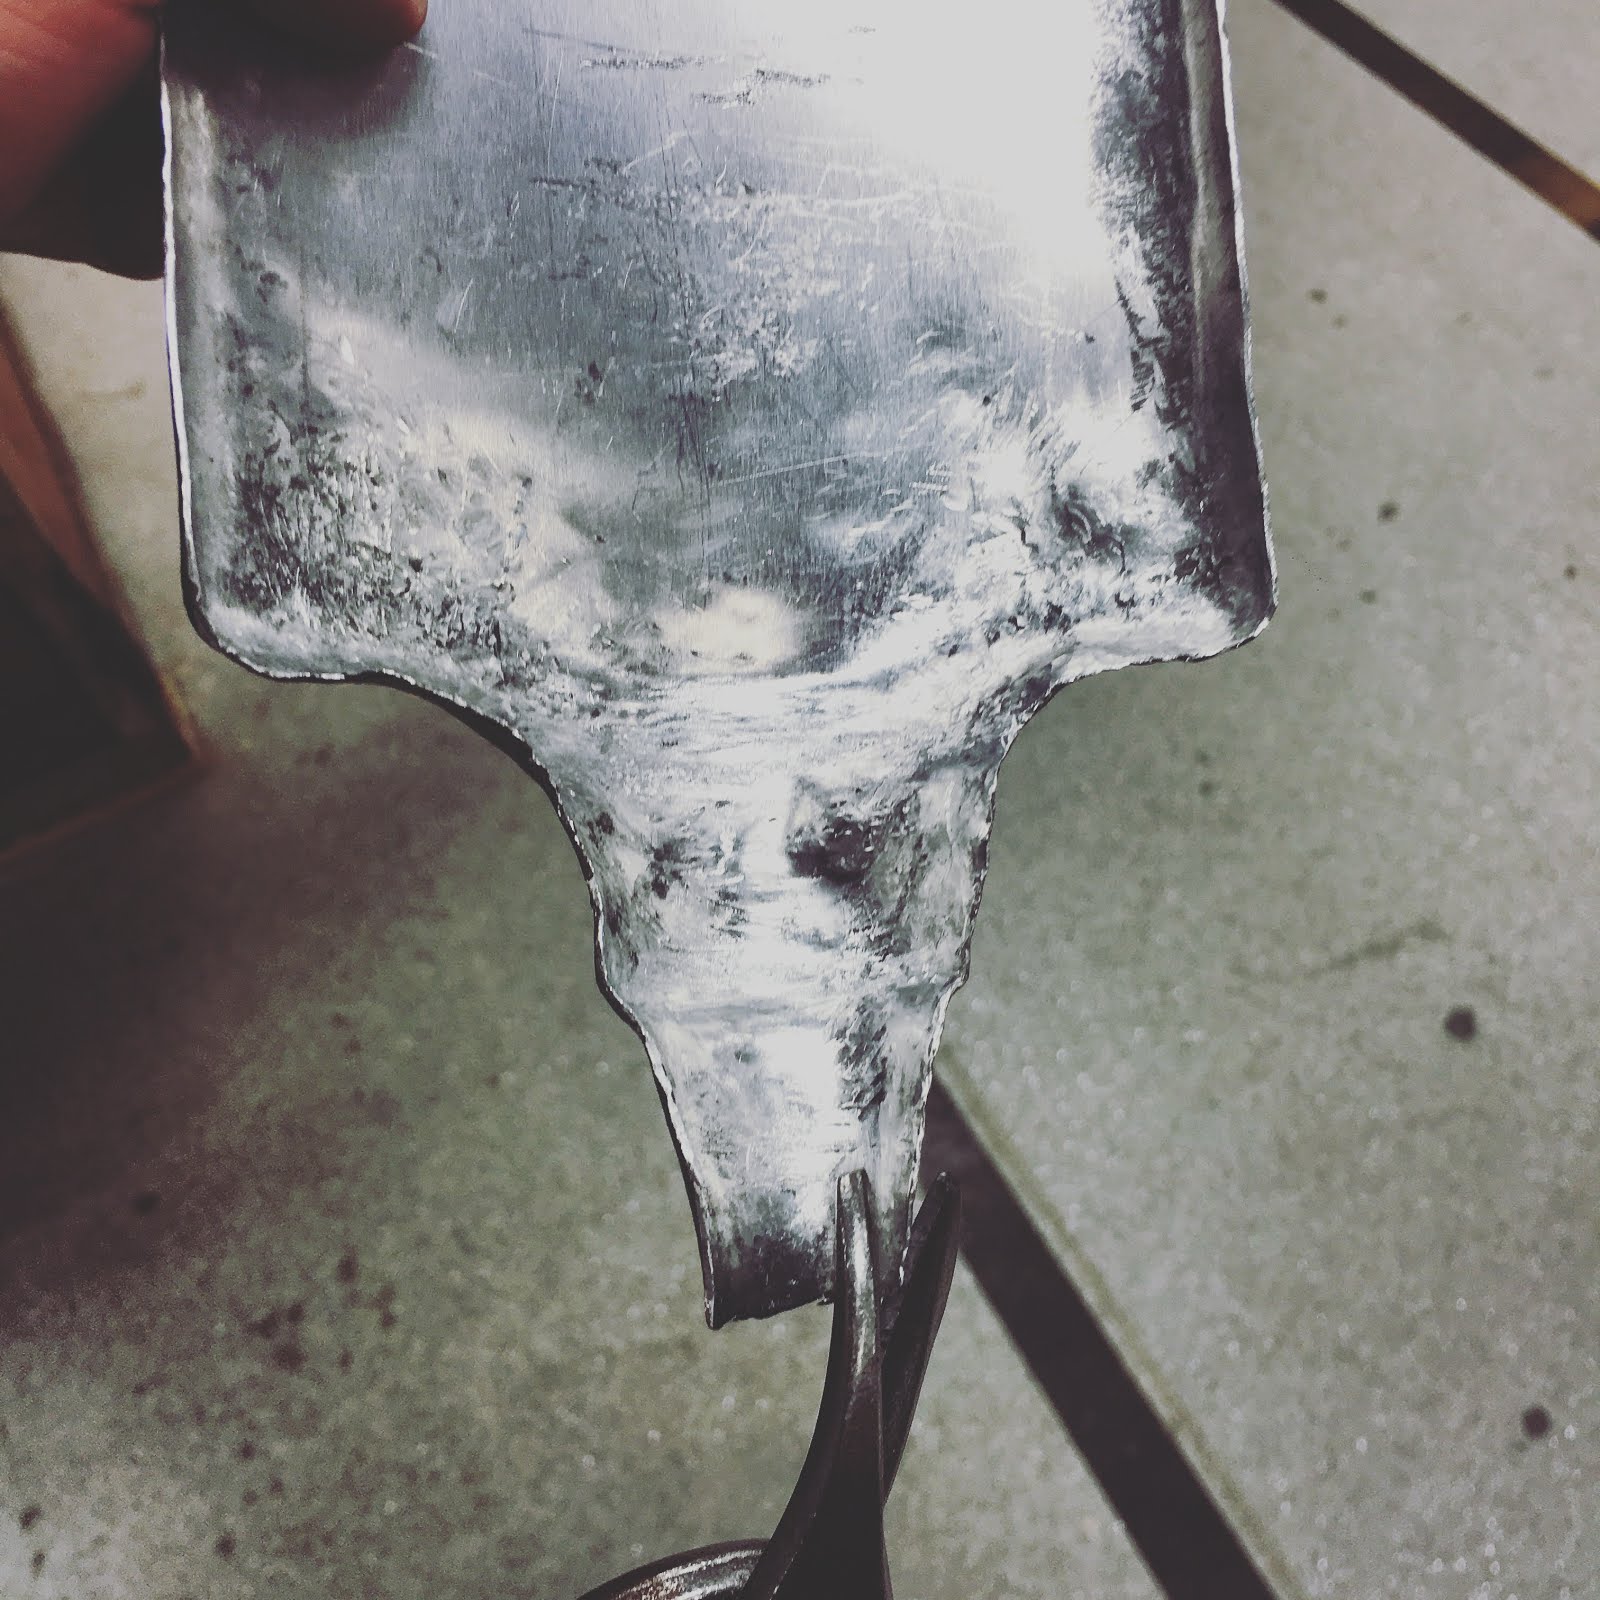
Image of completed adhere
Image of completed adhere
Image of completed adhere
Image of completed adhere
Image of completed adhere